Where to find itCustomer panel › Files › FTP Accounts
Create an FTP account
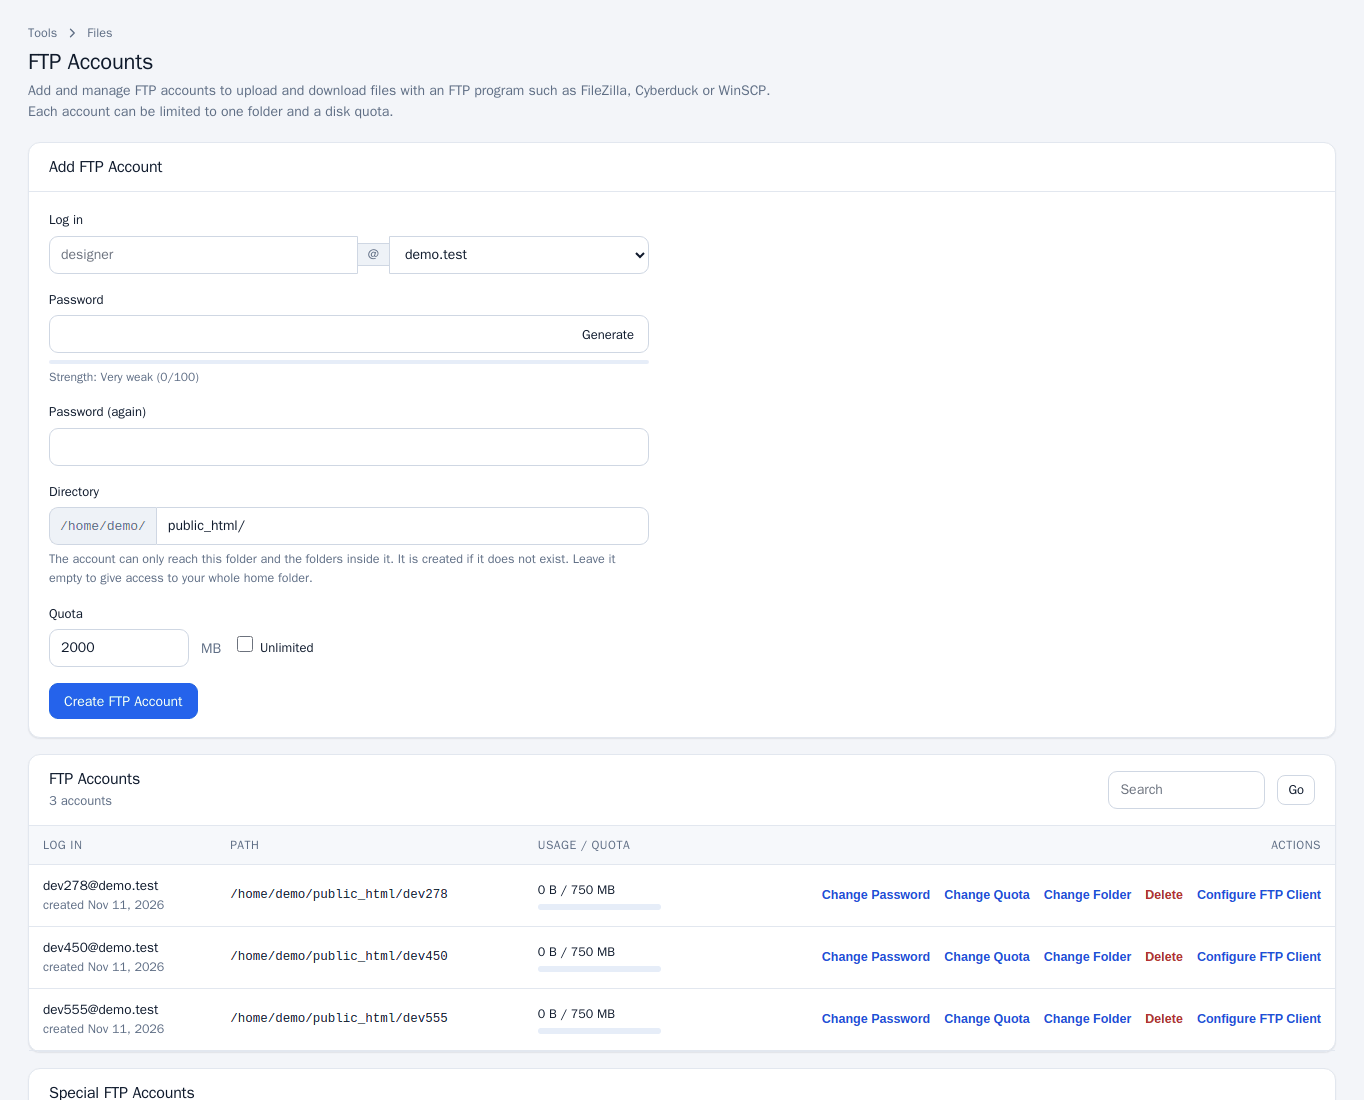
- Open Files > FTP Accounts.
- Under Add FTP Account, type the Log in name and choose a domain. The login is the full address, for example
[email protected]. - Enter the password twice (use Generate for a strong one).
- Set the Directory. The account can only reach this folder and the folders inside it. The folder is created if it does not exist. Leave it empty to give access to your whole home folder.
- Set the Quota in MB, or tick Unlimited.
- Click Create FTP Account.
Manage existing accounts
Each row in the account list has these actions:
- Change Password sets a new password.
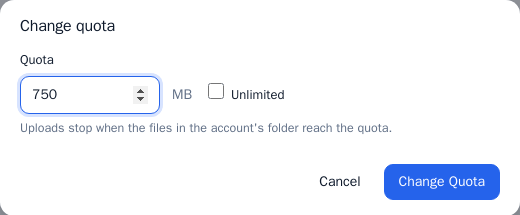
- Change Quota sets a new limit in MB or removes it.
- Change Folder moves the account to another folder.
- Delete removes the login. Its files are kept.
- Configure FTP Client offers a FileZilla (XML) or Cyberduck bookmark download. Passwords are never included; your FTP program asks for it when connecting.
Use the search box above the list to filter accounts by login.
Connection settings
- Host: the server hostname shown in Configure FTP Client.
- Port 21, with explicit FTP over TLS (FTPS); passive mode.
- User name: the full FTP login. Use the account password.
The main account
The Special FTP Accounts section lists the login created with your hosting account. It has access to your whole home folder, uses your account password, and cannot be deleted or limited.
Notes and limits
- If the page says FTP is not installed, your provider has not enabled the FTP server.
- FTP Accounts can be switched off per package in the Feature Manager.
- For single-person access to several tools at once, see User Manager.