Install WordPress
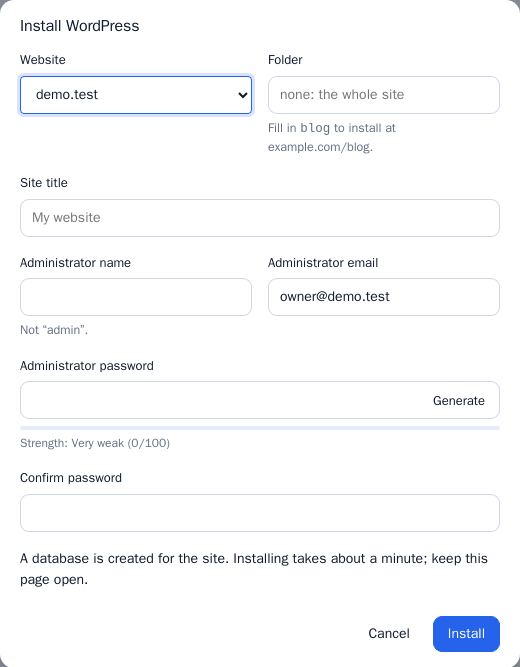
- Open WordPress Manager and press Install WordPress.
- Pick the Website and, optionally, a Folder. Leave the folder empty to install at the site's root, or fill in
blogto install atexample.com/blog. - Enter the Site title, an Administrator name (not “admin”), the Administrator email and a password twice. Generate makes a strong one.
- Press Install and keep the page open. A database is created for the site and installing takes about a minute.
- When it finishes, sign in at
/wp-adminwith the administrator name and password you chose.
Add sites that already exist
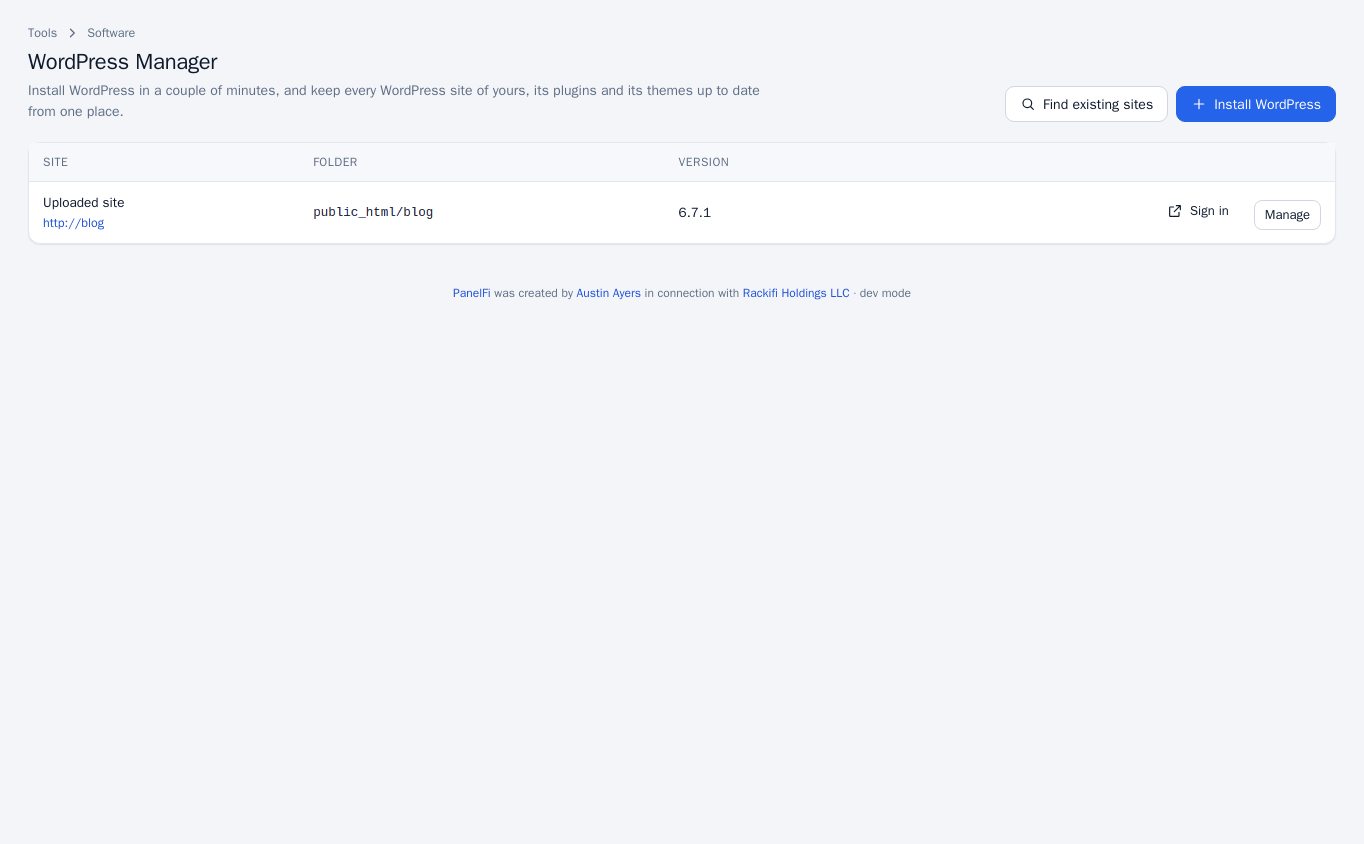
Press Find existing sites to scan your home folder. Every WordPress installation found is added to the list, so sites you uploaded yourself or brought over in a transfer can be managed too. The list shows each site's address, folder and WordPress version, with Sign in (opens the site's dashboard) and Manage buttons.
Manage a site
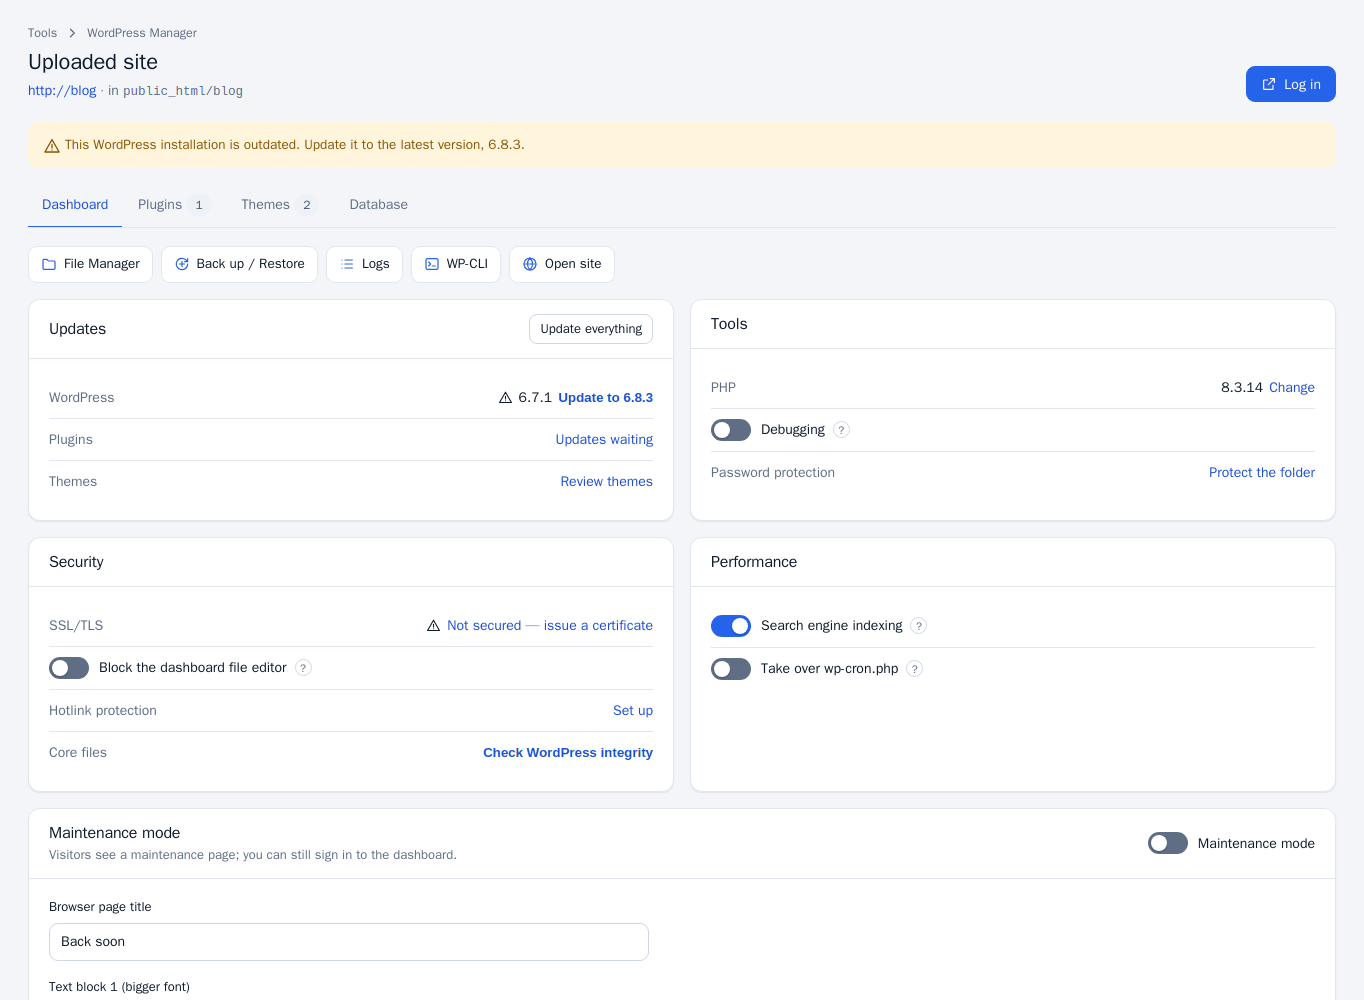
Press Manage to open the site's page. It has four tabs: Dashboard, Plugins, Themes and Database. A banner warns when WordPress itself is outdated.
Dashboard
- Log in signs you in to the site's WordPress dashboard without typing a password. Shortcut buttons open the File Manager, Back up / Restore (RapidBackup), Logs, WP-CLI (the Terminal) and the site itself.
- Updates shows the WordPress, plugin and theme update state. Update everything applies all of them; if some do not apply you get a warning naming them.
- Tools shows the site's PHP version (with a Change link to MultiPHP Manager), a Debugging switch and a link to password-protect the folder.
- Security shows the SSL/TLS state, a switch to Block the dashboard file editor, a link to hotlink protection and Check WordPress integrity, which compares the core files with the official release.
- Performance has Search engine indexing and Take over wp-cron.php, which runs WordPress's scheduled tasks from a real cron job instead of on page visits.
- Maintenance mode shows visitors a maintenance page while you can still sign in. You can set the browser page title, two text blocks, an optional countdown (days, hours, minutes) and Facebook, Instagram and X links.
Plugins and themes
The Plugins and Themes tabs list what is installed with Active and Autoupdate switches, an Update button per item and Update all. You can search the wordpress.org directory and Install or Install & activate an item, or delete one you no longer need. The Database tab shows the database name (with a link to phpMyAdmin), table prefix, database user and server.
Remove a site
The Remove panel has two choices. Take off this list keeps the site exactly as it is. Delete WordPress deletes the files and the database after you type delete. For a site that was not installed by PanelFi its database is left alone; delete it under the database tools instead.
Application Installer
The Application Installer puts another web application into one of your sites. PanelFi downloads the newest release from the project itself, unpacks it and creates its database. The application's own setup page then asks you a few questions. The catalogue includes WordPress (which points you to the WordPress Manager), Joomla, Drupal, Nextcloud, Matomo and Grav.
- Open Application Installer and press Install on the application.
- Choose the Website and a Folder. The folder must be empty.
- Press Install and keep the page open; large applications can take a few minutes.
- Open the address shown to finish the application's setup. If it asks for database details, the message lists the database name, user and server (
localhost). The database password is shown only once, so copy it.
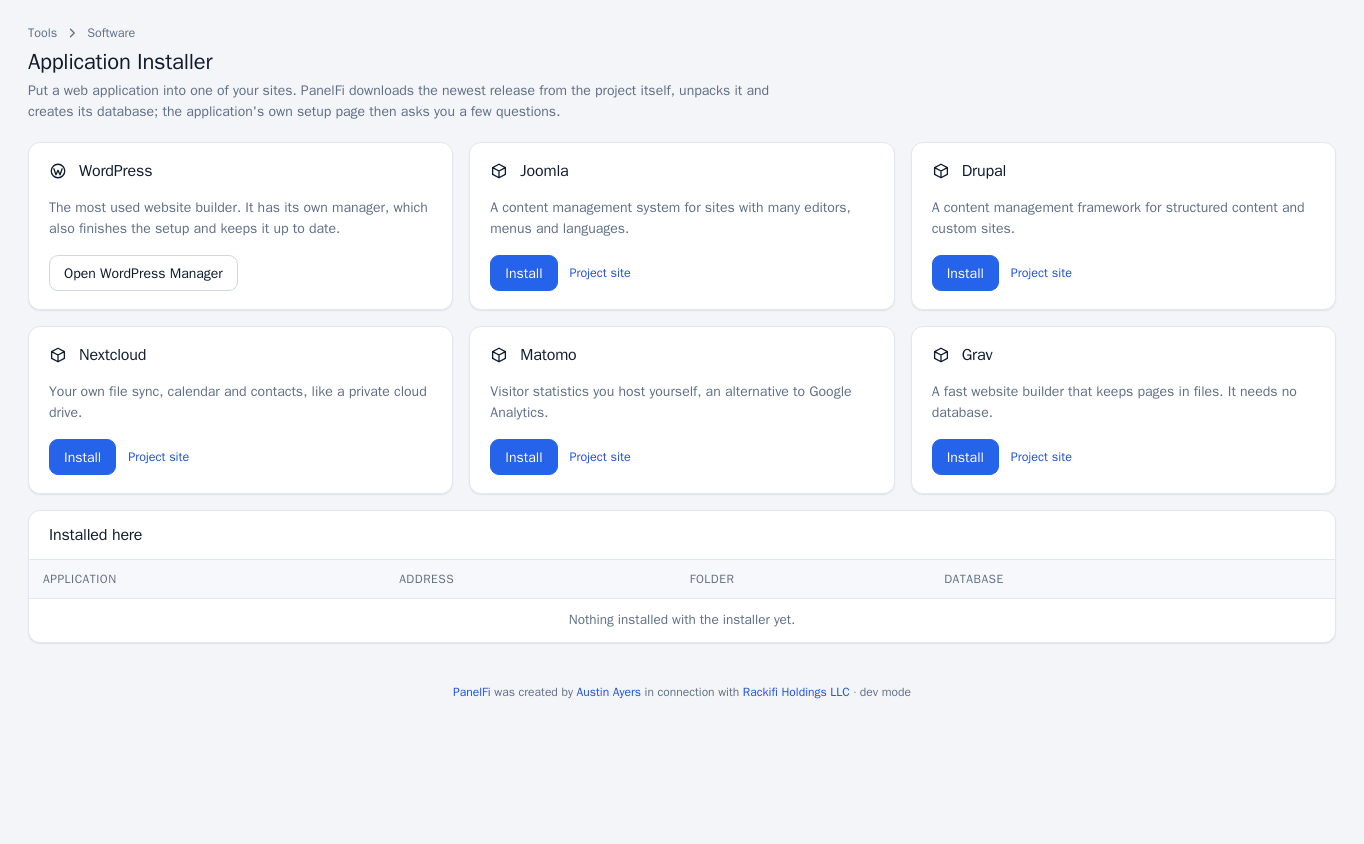
Installed applications appear under Installed here with their address, folder and database. Remove takes an entry off the list and keeps its files; you can also choose to drop its database.
Notes and limits
- Both tools can be switched off per package in the Feature Manager.
- The installers download from the project's own servers, so the server needs outbound internet access.
- Deleting a site or application cannot be undone. Take a backup first (see Backups and RapidBackup).