Where to find itServer panel › Security Center › Malware Scanner
What it does
A scan reads one account at a time at low priority and never follows a link out of an account's home folder. Findings are listed per account with details, and the account owner can be told.
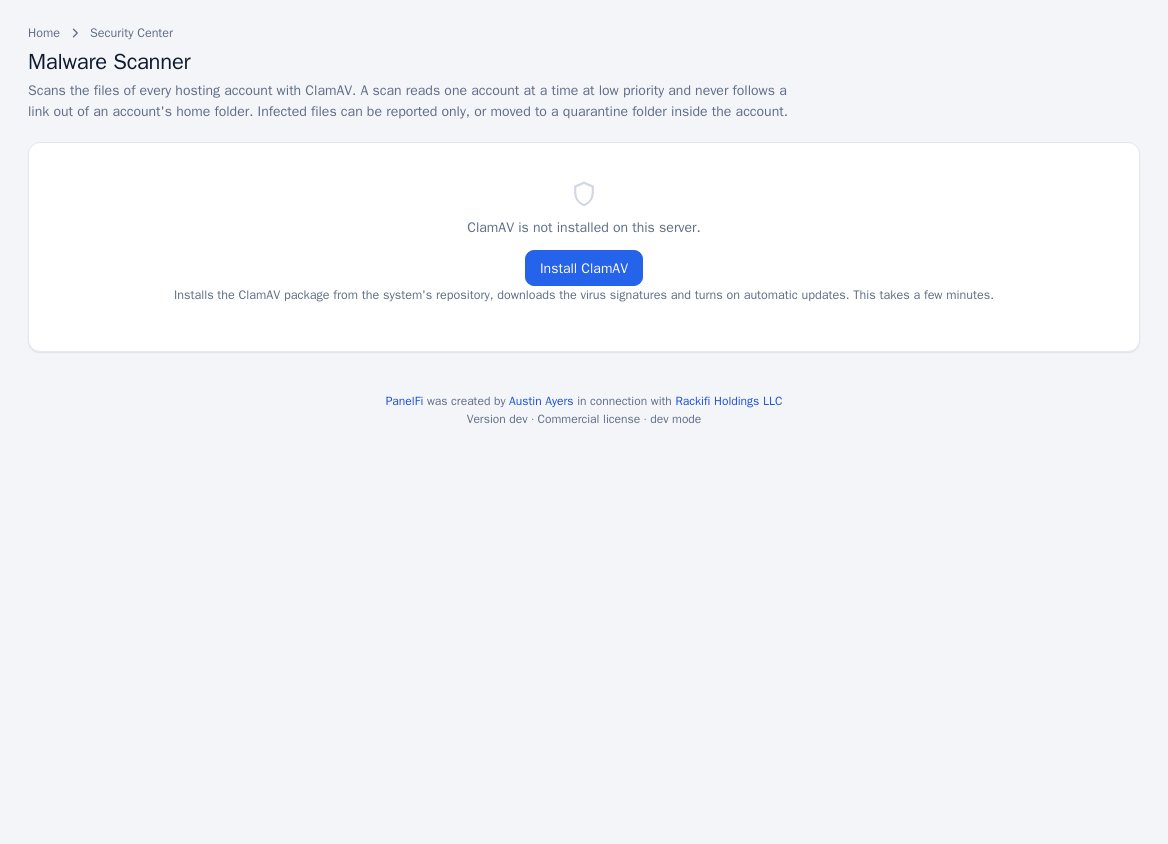
Install ClamAV and the signatures
- Open Security Center > Malware Scanner. If ClamAV is not installed, click Install ClamAV. It installs the system package, downloads the virus signatures and turns on automatic updates; this takes a few minutes.
- The status block shows Status, Scanner version, Signatures from, Automatic updates, Last scan and Infected files. If there are no signatures, click Download signatures.
Configure scanning
- Under Settings, pick the Scheduled scan: Off, Every night or Every Sunday night. It starts at 03:30 server time and scans every account's home folder.
- Choose When a file is infected: report it and leave it in place, or move it to the account's quarantine folder. Quarantine can break a site that uses the file; the account owner or you can restore it.
- Set the Largest file to scan (MB), and tick Tell the account owner if the owner should get a message for new findings. They can switch this off in Contact Information.
- Click Save settings.
You are told about new findings by the "Malware is found" notice in the Contact Manager (see Contact Manager).
Scan now
- Scan all accounts now starts a scan of every account; the page shows progress (account name, accounts done, infected files so far) and refreshes by itself.
- Under Results by account, choose an account and click Scan one account.
Read results
The Results by account table lists each account's latest scan: time and trigger, files scanned, and Clean, Scan failed or N infected (with the quarantined count). Details opens the account page with the findings and quarantine, where you can run Scan this account again.
Notes and limits
- The scanner relies on ClamAV signatures; it detects known malware only.
- Customers scan their own files from Virus Scanner in the Customer panel.